
Installation and configuration of video cameras
Installation and Configuration Guide for Cameras
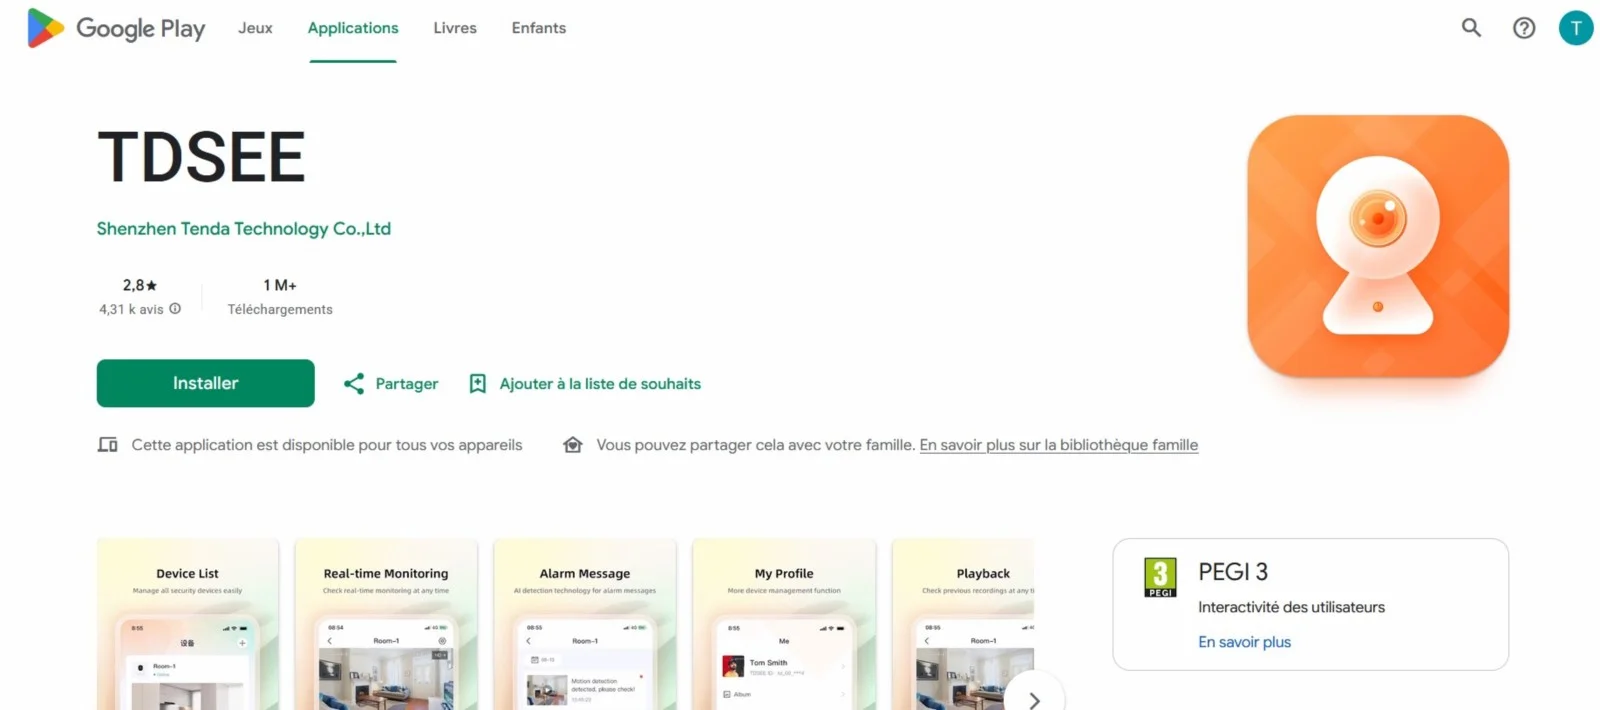
| Step 1 | Download the TDSEE application from the Google Play Store or the App Store. |
| Step 2 | Create an account with your own email address or phone number. |
| Step 3 | Communicate to us your TDSEE ID (the email on your PC or phone number from your mobile account) so that we may send you the sharing invitations for the cameras. The installation includes a total of 8 cameras, which will be activated only when the puppies are visible. During the first weeks, only one camera will film the birthing box. |
| Info | Camera activation schedule Weeks 1 to 3 (Weaning period): Only one camera is active. Puppies do not move around, they sleep and nurse. Weeks 3 to 4 (Awakening): 2 to 3 cameras are active. Puppies start walking and leave the weaning box to use the bathroom. Weeks 5 to 8 (Exploration): All 8 cameras are active. Puppies explore the indoor play area, the play zone, and the outdoor space. |
| Step 4 | Once the administrator has sent the invitation, finalize the reception |
| Step 5 | Open your TDSEE application. |
| Step 6 | Go to the Messages page (generally accessible via the "Me" tab or a bell icon/notification.) |
| Step 7 | Click on Message système (System message). |
| Step 8 | Press Accept (Accept) in front of the camera sharing invitation. |
| Step 9 | Go back to your application's home page: the shared camera video stream now appears there, marked with a small "Person" icon indicating that it is a shared access. |
| Info | ⚠️ Camera Info : Limit of 6 simultaneous connections per camera to avoid bugs. Please do not share your access. Sharing access will result in suspension to avoid penalizing future adopters. 🎥 Tip : You can record the videos on your phone and share them later on your social networks! Thank you for your understanding. |
Contact us via the form below in case of login issues
Thank you, your message has been sent.